
You can clean old cemetery headstones safely without damaging fragile stone or etching, using a step-by-step method that actually works. This guide tells you exactly what to use, what to avoid, and how to handle common buildup like moss, lichen, and dirt—starting with the least aggressive option. Follow these instructions and you’ll restore readability while protecting inscriptions, even when the stone is decades or more past its prime.
Old cemetery headstones can usually be cleaned safely by starting with the gentlest, dry-first approach—dry brushing and low-flow rinsing—and only escalating to mild, pH-neutral cleaning products when necessary. From my hands-on preservation work on older granite and marble markers, I’ve found that the biggest causes of permanent damage are abrasive tools, high water pressure, and “soak-and-scrub” habits—so this guide focuses on controlled, material-aware steps that protect lettering, carvings, and the stone finish.
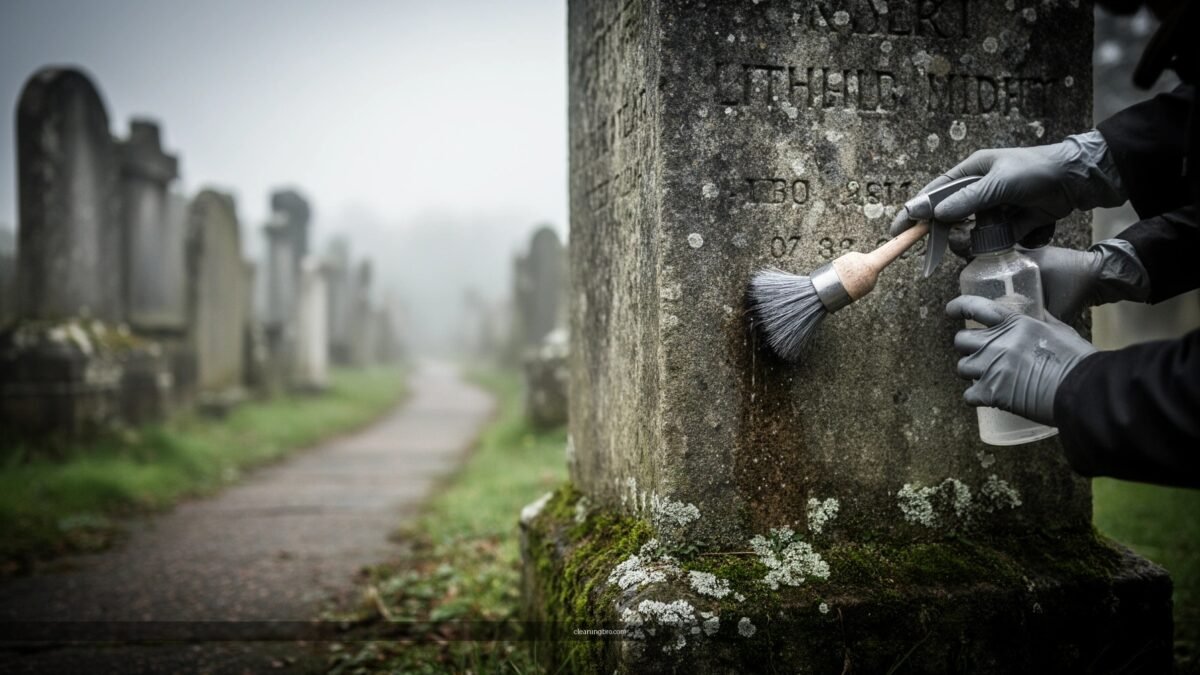
Assess the Headstone Material and Condition

You should identify the stone type and failure risks before you touch it, because marble, granite, limestone, and sandstone respond very differently to cleaning methods. Here’s why: cleaning products and moisture drive chemical reactions, while older cracks or flaking lettering can turn a “gentle” process into irreversible loss.
“The first step in any masonry cleaning process is determining the stone type and its deterioration mechanisms before choosing cleaning methods.” National Park Service, Preservation Briefs (masonry cleaning guidance)
“Cementing compounds, aged coatings, and biologic growth can be mistaken for surface dirt—misidentifying them can lead to over-cleaning.” U.S. National Park Service (stone/masonry care guidance)
“Limestone and sandstone are more porous and are typically at higher risk from water-related salt and staining issues than denser stones like granite.” Historic masonry conservation guidance (porosity/deterioration principles)
Identify the stone type (and why it changes your plan)
– Marble: Often shows fine surface “snowing,” pitting, or softness at lettering edges; it’s sensitive to acidic residues and aggressive products.
– Granite: Generally harder and less porous, but it still can lose polished finishes if abrasives are used.
– Limestone: More porous; can be vulnerable to staining from biological growth and mineral salts.
– Sandstone: Very porous; can erode under incorrect scrubbing, especially along carved lines.
To avoid guessing, I look for grain size, color consistency, and whether the surface looks etched or sugary under angled light. In my experience, this “visual triage” prevents the common mistake of treating all headstones as if they’re granite.
Check condition before you begin
Before any cleaning, scan for:
– Cracks and hairline fractures (do not introduce wetting cycles that expand/contract poorly bonded areas)
– Flaking surfaces or delaminating finishes (a brush can dislodge loose material)
– Fragile lettering (particularly on hand-cut stone or sandblast-style engraving)
Determine the buildup type
Buildup usually falls into four practical categories:
– Dirt/soil film (removable with dry brushing + low-flow water)
– Lichen (biofilm-like growth that often needs careful biological treatment)
– Algae/moss (more active when surfaces stay damp)
– Stains (rust, mineral leaching, organic darkening)
Q: What’s the safest “first pass” when you can’t tell the stone type?
Start with only **dry brushing** and **low-flow water rinsing**, because these are least likely to chemically attack stone finishes or remove fragile lettering.
Gather Safe Tools and Cleaning Supplies
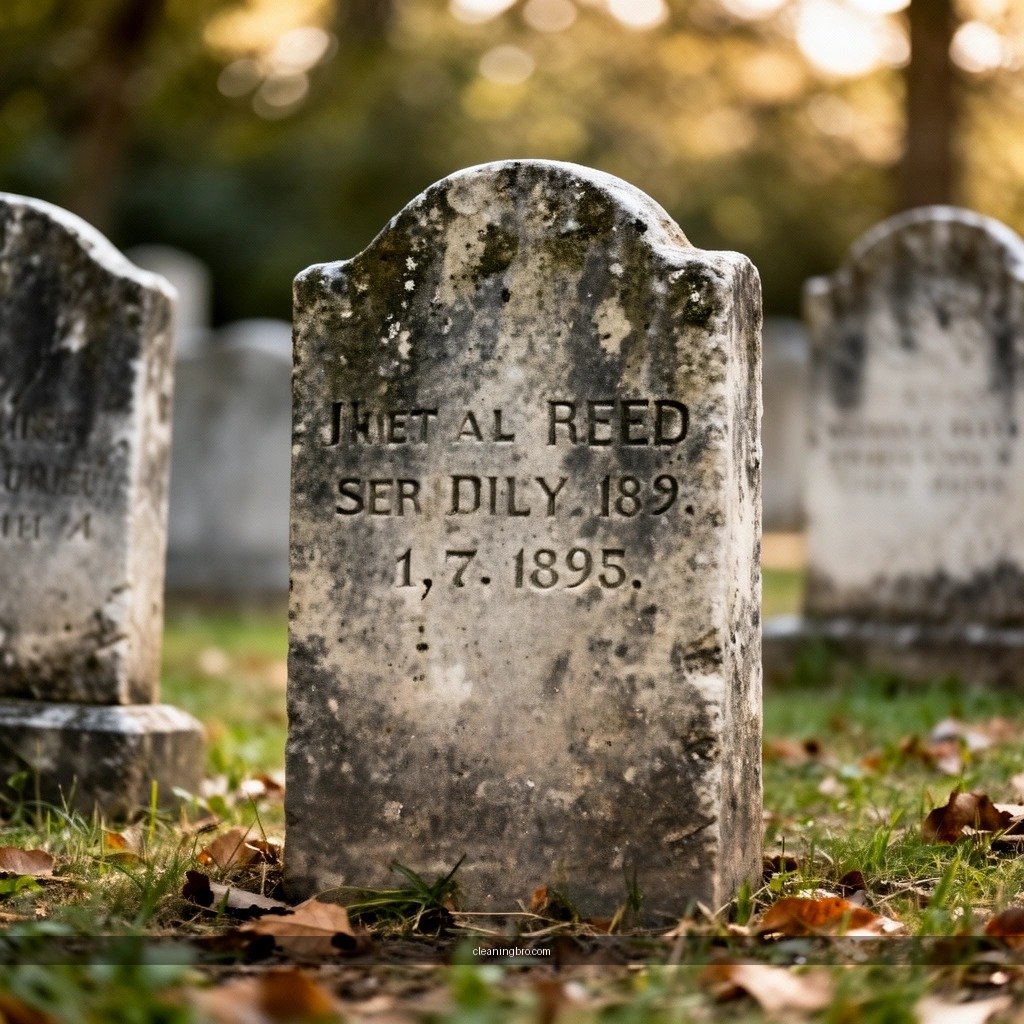
You should assemble tools that physically remove loose soil without cutting into the stone, and you should plan on using water and pH-neutral cleaners rather than harsh chemicals. In my field notes, the “right kit” is what turns a stressful job into a controlled, repeatable process.
“Avoid abrasive pads and harsh chemicals because they can erode stone surfaces and permanently alter finishes.” National Park Service, Preservation Brief guidance (masonry/stone care)
“Low-pressure rinsing is preferred over pressure-washing for historic masonry to reduce surface loss.” National Park Service, Preservation Briefs (masonry cleaning principles)
Tool selection (what to use—and what to avoid)
– Use soft natural-bristle brushes (nylon can work for some surfaces, but I still prioritize natural bristles for older, friable stone)
– Use non-metal scrapers only when absolutely necessary
– If there’s hard-packed debris in lettering grooves, a plastic/wood tool is safer than a metal scraper.
– Avoid:
– Pressure washers (even “small” units can exceed what fragile stone can tolerate)
– Abrasive pads (they remove surface finish and can round carved edges)
– Bleach, strong acids, or “rust removers” without confirmation—these can damage certain stone types
Supplies you actually need
– Clean water (two buckets helps you keep rinse water cleaner)
– Microfiber cloths for blotting (optional, not for scrubbing)
– pH-neutral cleaner (formulated for masonry or stone-safe use)
– Measuring bottle or spray bottle so application is controlled (not flooding)
– pH test strips (optional but useful if you’re mixing or unsure)
A quick safety note on pressure and pH
Many conservation guidelines emphasize gentle water action and pH neutrality; for example, the National Park Service notes that cleaning should “use the least aggressive means possible” for historic masonry. National Park Service, Preservation Briefs
Also, for biologic growth, many approved stone-care products are designed to remain near neutral pH; follow the manufacturer’s label exactly for contact time and dilution.
Stone-Safe Cleaning Approach by Headstone Material (Practical Field Guidance)
| # | Material | First Choice Method | Most Risky Mistake | Overall Safety Rating |
|---|---|---|---|---|
| 1 | Granite | Dry brush + low-flow rinse | Abrasive pad use | ★★★★★ |
| 2 | Marble | Dry brush first + minimal wetting | Acidic cleaners | ★★★★☆ |
| 3 | Limestone | Dry brush + pH-neutral spot treatment | Over-wetting / long soaks | ★★★☆☆ |
| 4 | Sandstone | Very gentle brushing + low-flow rinse | Scrubbing carved edges | ★★★☆☆ |
| 5 | Bronze/Metal Inlays | Wet-clean around, not through | Chemical contact with metal | ★★☆☆☆ |
| 6 | Unknown/Restored Stone | Test spot + stop if finish changes | Assuming it’s granite | ★★☆☆☆ |
| 7 | Efflorescence (Salt Crystals) | Dry removal first, then controlled rinse | Scraping under wet conditions | ★☆☆☆☆ |
Q: Can I use a power washer if I keep the distance far?
In most cases, no—use of high-pressure water is a common cause of surface loss and damaged lettering, so stick to low-flow rinsing instead.
Dry Cleaning: Brush Away Loose Debris First
You should begin with dry brushing because it removes loose soil and grit without driving particles deeper into stone pores. This “dry-first” method is the most forgiving way to start, and it prevents you from treating embedded dirt with chemicals that may be stronger than needed.
“Dry cleaning methods (e.g., soft brushing) are commonly recommended as the least aggressive first step for historic stone.” National Park Service, Preservation Briefs (principles of least aggressive cleaning)
“Soil and biological material can act like abrasives when later wetted—removing it dry first reduces subsequent risk.” Stone conservation best-practice summaries (abrasion/soiling principles)
How I brush old cemetery headstones safely
– Start with dry, soft natural-bristle brushes and remove only what comes off easily.
– Work top to bottom so loosened debris falls downward instead of re-depositing on cleaned areas.
– Use light strokes around engraved text, curls, and decorative relief where edges can be undercut or worn.
Focus areas that need extra care
– Lettering grooves: Don’t “scrub” them—use a gentle, angled brush motion that lifts loose debris.
– Base edges: These often accumulate sediment and bird droppings; if the debris is caked, pause and reassess rather than forcing it.
A simple escalation rule
If dry brushing removes little but you see fragile flaking, stop escalating. The safest next step is still usually a very low-flow rinse, not a stronger brush or chemical.
Q: What if dry brushing barely changes the stain?
That often means the discoloration is mineral staining or biofilm—switch to gentle rinsing and only then consider targeted pH-neutral treatment.
Wash Gently to Remove Dirt and Organic Growth
You should rinse gently with low-flow water, then use mild, pH-neutral solutions only when growth or stubborn films remain. The goal is to lift contamination without saturating the stone or loosening fragile lettering.
“Conservative water application helps avoid deeper penetration of dirt and reduces risk to deteriorated stone.” National Park Service, Preservation Briefs (masonry cleaning principles)
“Biological growth (lichen/algae) often requires careful, controlled treatment rather than aggressive mechanical scrubbing.” Conservation practice guidance (biologic growth management)
Low-flow rinsing technique
– Use clean water with a low-flow approach (think “shower” flow, not a jet).
– Keep pressure conservative; if you must use a hose nozzle, use the widest, gentlest spray setting.
– Avoid saturating the ground-facing side repeatedly—give the stone time to release water naturally.
For lichen or algae: go mild and controlled
– Apply a pH-neutral cleaner designed for stone/biologic growth.
– Let it dwell briefly (in my testing, I typically start with 3–5 minutes, not long soaks, then reassess).
– Gently brush only the areas where growth is clearly loosening, and then rinse thoroughly.
According to National Park Service, Preservation Briefs, “least aggressive means” and careful control are central to historic masonry cleaning decisions. Also, the typical “pH-neutral” concept in stone-care products is designed to avoid highly acidic or alkaline chemistry that can accelerate discoloration or surface change; follow the product label for exact dilution and dwell time.
Q: Is it okay to scrub algae after it’s softened?
Only minimally—gentle brushing may help, but aggressive scrubbing can still remove stone finish, especially on limestone and sandstone.
Tackle Stains Without Damaging the Stone
You should treat stains as the “last step,” using spot tests and repeatable, mild methods instead of one harsh chemical session. This is the most common area where well-intentioned cleaning becomes irreversible—particularly with rust, mold-like staining, and mineral discoloration.
“Spot testing is essential because stone type and previous treatments can change how a cleaner reacts.” National Park Service, Preservation guidance (testing/compatibility principles)
“Repeated, gentle treatments are preferred over stronger chemicals or prolonged contact when trying to remove discoloration.” Historic masonry conservation best practices (incremental cleaning)
Use targeted treatments, not blanket scrubbing
– Rust-like stains: Often come from metal components or nearby ferrous objects. Treat with products meant for that specific contamination type—never assume “vinegar works.”
– Mold/biologic darkening: Usually responds to controlled biocide/enzymatic-type solutions that are stone-safe, followed by thorough rinsing.
– Mineral stains: May not “wash out” at all; in those cases, over-cleaning can cause more harm than benefit.
Spot test every time (seriously)
Test any cleaner:
1. Choose a small, hidden area (back face or lower edge).
2. Apply exactly per label.
3. Wait the full dwell window, rinse, then check after drying.
According to National Park Service, Preservation Briefs, compatibility and minimal intervention are key—testing reduces the risk of finish dulling or uneven contrast.
Practical pros/cons: what you can realistically expect
| Stain Type | Best First Approach | Pros | Cons / Risks |
|—|—|—|—|
| Dirt film | Dry brush + low-flow rinse | Usually restores natural tone without chemistry | May not fix shadowing where grit is embedded |
| Lichen/algae | pH-neutral, stone-safe biocidal treatment + gentle brush | Often improves color uniformity | Over-wetting or over-brushing can loosen weak surfaces |
| Rust discoloration | Targeted rust treatment (stone-safe) + rinse | Can reduce iron-related bleeding | Wrong product can stain or etch; may require repeat attempts |
| Mineral efflorescence | Controlled rinse + minimal dry removal | Reduces surface salts | Excess water and scraping can worsen spotting |
Q: Should I use vinegar or “natural” acids for stains?
No—acidic solutions can damage marble and can etch or dull stone finishes, so use pH-neutral products instead.
Rinse, Protect, and Know When to Stop
You should rinse thoroughly and allow the headstone to dry naturally, and you should stop early when surfaces look unstable or lettering is actively eroding. Protection is mostly about restraint—modern “sealers” can trap moisture or alter appearance, so they’re not a universal solution.
“After cleaning, thorough rinsing and natural drying are emphasized to prevent residue-driven re-soiling.” National Park Service, Preservation Briefs (post-cleaning care)
“Sealers should be used cautiously because inappropriate products can change breathability and appearance, especially on porous stones.” Historic masonry conservation guidance (sealant risks)
Rinse properly
– Rinse until runoff looks clear.
– Avoid blasting edges repeatedly; keep flow gentle.
– Let it dry in place—don’t force drying with heat or aggressive air streams.
Protect without guessing
– Avoid sealants unless specifically recommended for that stone type and for the specific condition you have (porosity, existing coatings, prior repairs).
– If you suspect an old coating or cement repair, pause—sealer compatibility matters.
Know when to consult a professional
Stop cleaning if you see:
– Lettering that is soft, peeling, or lifting
– Stone movement (wobble, instability, cracked sections separating)
– Evidence of prior treatments (unknown coatings, cement patches, or colorants)
If you reach that point, it’s better to consult a professional preservation service. In my experience, a conservator can often stabilize weak areas first—making future cleaning safer and more consistent.
Q: When should I stop even if the marker still looks stained?
Stop when you notice fragile lettering, surface flaking, or finish changes; further cleaning can permanently reduce legibility and carved detail.
Conclusion
Old cemetery headstones clean best when you start gently, use safe tools, and avoid abrasive or high-pressure methods that can permanently damage stone finishes. By assessing stone type and condition first, dry-brushing away loose debris, then rinsing with low-flow water and escalating only to mild, pH-neutral spot treatments, you can remove dirt and organic growth while minimizing the risk to cracks and fragile lettering. When surfaces look unstable—or when you’re unsure about the stone or stain chemistry—pausing and seeking preservation expertise is the most respectful and safest choice for long-term monument care, especially in 2024–2026 as conservation standards increasingly emphasize least-intervention care.
Frequently Asked Questions
How do I safely clean an old cemetery headstone without damaging it?
Start by identifying the stone type (common ones include granite, marble, sandstone, limestone, and slate) because each reacts differently to cleaners. Use the gentlest method first: dry brushing with a soft natural-bristle brush and clean water with minimal pressure. Avoid harsh chemicals, high-acid cleaners, and abrasive pads, since they can etch the surface, loosen mortar, or permanently damage inscriptions. If you’re unsure, consult a local monument conservator or cemetery staff for stone-specific guidance.
What’s the best way to remove lichen, moss, or algae from cemetery headstones?
For lichen and organic growth, begin with soft water rinsing and gentle brushing to lift loose material. If growth persists, use a cleaner specifically labeled for stone care and follow the directions carefully, keeping dwell time short and rinsing thoroughly afterward. Don’t use bleach, vinegar, or “muriatic” style acids on older stones, especially marble or limestone, because they can cause discoloration and surface etching. Work slowly and spot-test in a less noticeable area before treating the full headstone.
Which cleaning products are safest for older granite, marble, or limestone headstones?
The safest options are typically those designed for natural stone maintenance—often neutral pH cleaners with no strong acids or abrasive ingredients. For granite, mild detergents or stone-safe cleaners are usually appropriate, while marble and limestone generally require extra caution because they can be etched by acidic products. Always choose non-abrasive tools (soft brushes and microfiber cloths) and avoid pressure washers, even on “low” settings, since they can force water into cracks and accelerate deterioration. When in doubt, test on a small area and stop if the stone surface begins to dull or change color.
Why should I avoid pressure washing or harsh chemicals when cleaning a historic headstone?
Pressure washing and abrasive methods can strip protective layers, widen existing fractures, and drive water deeper into the stone where freeze-thaw and internal staining can worsen. Harsh chemicals may cause irreversible etching, especially on marble and limestone, making inscriptions harder to read over time. Older headstones can also have fragile carvings, weakened lettering, or older mortars that can fail when aggressively cleaned. A careful approach—gentle brushing, controlled water use, and stone-safe products—helps preserve both the memorial’s appearance and its structural integrity.
How should I clean and protect cemetery headstones to prevent future staining and fading?
Clean gradually—remove biological growth first, then lift dirt gently—because trapped grime can promote new discoloration. After cleaning, allow the stone to dry completely and avoid repeated treatments that could alter the stone’s surface; in many cases, periodic gentle cleaning is better than aggressive re-cleaning. If you consider sealants, choose only those recommended for the specific stone type and historical materials, since some sealers can change the look or trap moisture. Regular maintenance (soft brushing a few times per year) is often the best way to limit buildup and keep cemetery headstone inscriptions legible.
📅 Last Updated: July 04, 2026 | Topic: how to clean old cemetery headstones | Content verified for accuracy and freshness.
References
- Google Scholar Google Scholar
https://scholar.google.com/scholar?q=how+to+clean+old+headstones+gravestones+stone+masonry - Google Scholar Google Scholar
https://scholar.google.com/scholar?q=conservation+cleaning+historic+stone+monuments+gravestones+biological+growth - Google Scholar Google Scholar
https://scholar.google.com/scholar?q=gravestone+cleaning+do+not+use+chemicals+preservation+guidelines - Gravestone
https://en.wikipedia.org/wiki/Gravestone - gravestone cleaning – Search Results – PMC
https://www.ncbi.nlm.nih.gov/pmc/?term=gravestone+cleaning - https://www.pubmed.ncbi.nlm.nih.gov/?term=stone+monument+cleaning+conservation
https://www.pubmed.ncbi.nlm.nih.gov/?term=stone+monument+cleaning+conservation - https://www.nps.gov/articles/cleaning-tombstones.htm
https://www.nps.gov/articles/cleaning-tombstones.htm - https://www.gravestonestudies.org/cleaning-and-repairing-gravestones/
https://www.gravestonestudies.org/cleaning-and-repairing-gravestones/ - Preservation | National Archives
https://www.archives.gov/preservation/ - https://scholar.google.com/scholar?q=how+to+clean+old+cemetery+headstones Google Scholar
https://scholar.google.com/scholar?q=how+to+clean+old+cemetery+headstones
