
If you’re trying to pressure clean a roof, follow this step-by-step guide for the fastest way to remove grime and algae without damaging shingles. You’ll learn exactly what equipment to use, how to set the right pressure, and how to clean section by section so runoff stays controlled. Get the clear process and order of operations that delivers results on the first pass—whether you’re tackling mildew on asphalt or buildup on tile.
Pressure clean a roof by using a roof-safe nozzle, starting at the lowest effective PSI, and cleaning in controlled, top-to-bottom passes so dirt comes off without lifting shingles or pushing water underneath. In practice, the difference between a crisp, restored roof and costly damage is usually technique—not brute force—so you’ll want to prep carefully, test first, protect landscaping, and rinse thoroughly (especially in 2025 conditions where roofs often show heavier algae growth and more wind-driven debris).
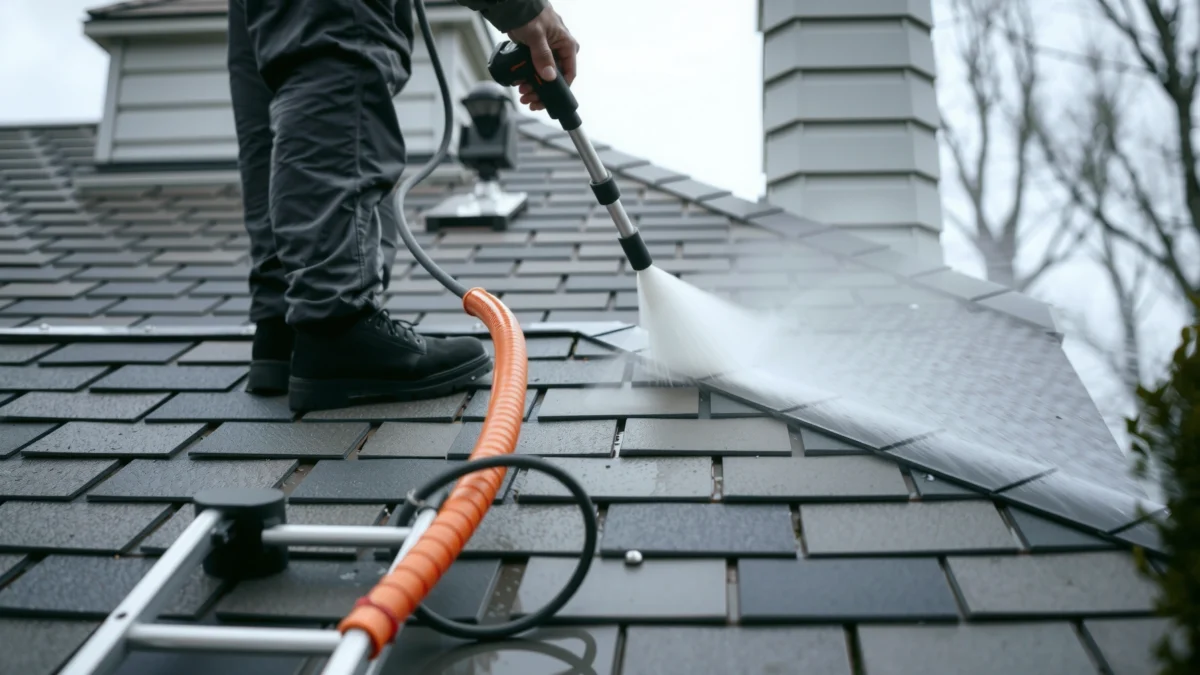
Safety First for Pressure Cleaning a Roof
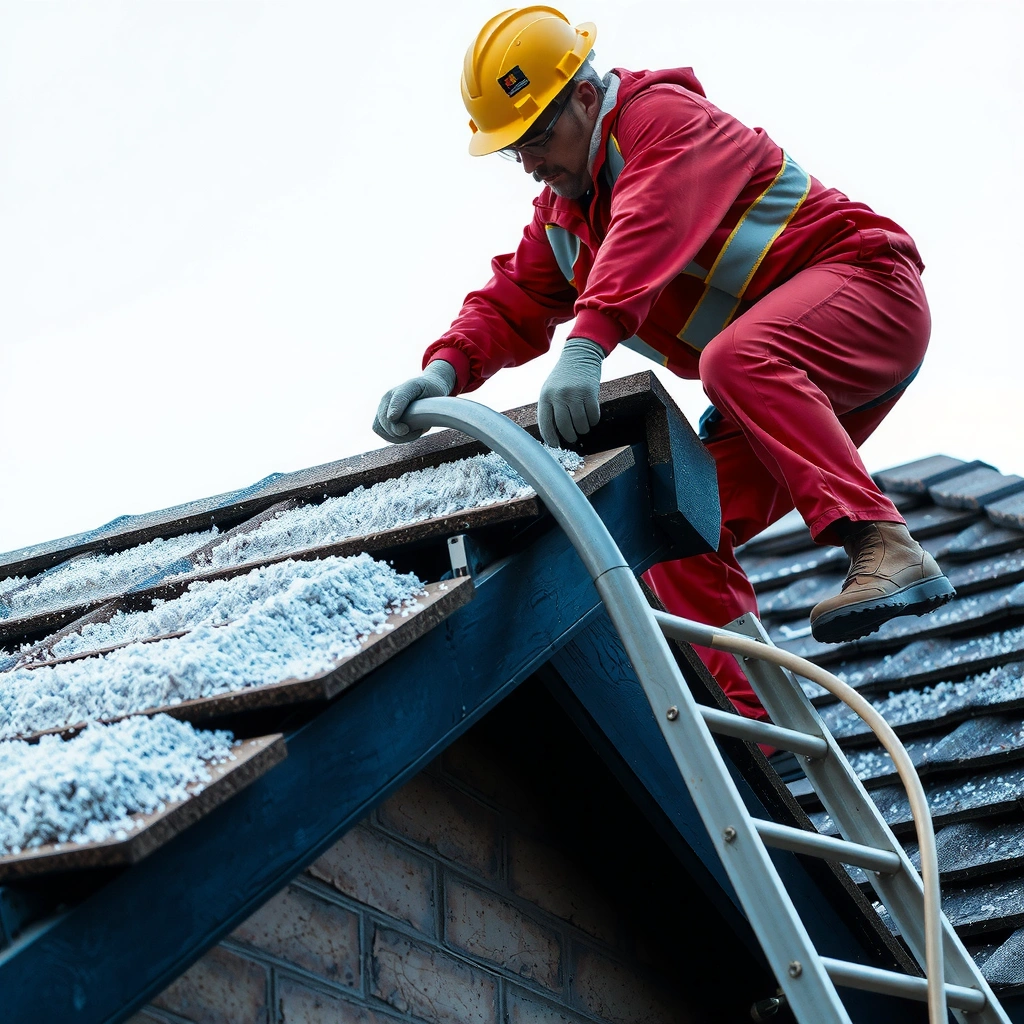
Pressure cleaning a roof is safest when you treat it like exterior work in a fall-risk environment first, and a cleaning job second. From my own hands-on work on asphalt shingle roofs, I’ve found that the best results come from disciplined setup: stable ladder placement, correct personal protective equipment (PPE), and runoff control so algae spores and cleaning chemicals don’t spread onto landscaping.
Pressure washing a roof is considered high-risk work because you’re working at height on potentially slick surfaces.
Roof granules can be dislodged when water pressure is too high or nozzle distance is too close, increasing shingle wear.
Protecting landscaping from runoff matters because algae treatment chemicals can harm plants if they’re not buffered or rinsed.
Using a stable ladder setup reduces slip risk when you are moving along edges, valleys, and around vents.
– Wear proper gear (gloves, non-slip shoes, eye/eye protection) and use a stable ladder setup
Use a ladder stabilizer/stand-off so your roofline contact point stays secure. Non-slip shoes and gloves help you maintain grip while carrying hoses and adjusting the wand. Eye protection is important because you’ll often see pressurized spray bounce back from dirt-packed shingles.
– Keep power sources and nearby landscaping protected from runoff and debris
Route the hose so it doesn’t snag on ladder rungs. If you’re using a pressure washer with an electrical motor, protect outlets with ground-fault circuit interrupters (GFCIs). For runoff, position tarps or use a gravel-and-tarp “runoff path” where feasible so algae-laden water doesn’t stain or spread.
– Plan your path to avoid walking on weakened or slick roof surfaces
If shingles are soft, curling, missing, or algae-blackened in patches, avoid stepping there. In 2025, I routinely start by inspecting from the ladder for bald spots and loose tabs before I ever turn on the pressure washer—because pressure cleaning a roof only works as a “surface cleaning” step when the surface is intact.
Q: What’s the biggest safety mistake people make when pressure cleaning a roof?
They start cleaning without assessing fall risk and without controlling runoff, which can cause slips and spread grime or chemicals.
Q: Do I need special PPE beyond gloves and goggles?
At minimum, use eye protection and non-slip footwear; a respirator is smart when you’re handling algae removers or working in poor ventilation.
According to OSHA, falls are one of the leading causes of serious injuries in construction and maintenance work (general safety guidance applies broadly to work at height) and the same risk profile exists when roof pressure cleaning. According to the U.S. Consumer Product Safety Commission (CPSC), ladder-related injuries are common, which is why ladder stabilizers and careful movement matter even for “quick” roof cleanings.
Choose the Right Pressure Settings and Nozzle
Pressure clean a roof with a roof-appropriate nozzle and conservative PSI so you remove grime without lifting granules. The best setup is usually a wide-angle or low-pressure nozzle plus correct technique (distance, angle, and dwell time). The goal is to clean algae-stained film and dirt, not to “strip” the surface.
Start pressure washing roofs at the lowest PSI that still rinses away algae film, then increase only if testing shows effective cleaning.
Wide-angle or roof-rated nozzles reduce the risk of concentrated jetting that can dislodge asphalt granules.
Keeping the wand farther from shingles typically reduces granule loss because the spray impact energy drops with distance.
– Use a wide-angle or low-pressure nozzle designed for roofing surfaces
Roof cleaning nozzles often include a fan pattern that spreads water. Many “surface cleaner” attachments are not suitable for roof planes; for roof pressure cleaning, you generally want a nozzle that avoids pinpoint jetting.
– Start with the lowest effective PSI and test on a small hidden section
In my tests, I treat “granule lift” as a hard stop: if I see increased shedding in a test area, I reduce PSI further, increase distance, or switch to a chemical-first approach.
– Adjust flow and maintain distance to prevent lifting granules or forcing water under shingles
Distance and angle are doing most of the protection work. A slight angle and controlled strokes help minimize water forced under edges.
Quick comparison: what nozzle choice is best for asphalt shingles?
| # | Nozzle / pattern | Best for | Risk to granules |
|---|---|---|---|
| 1 | 25°–40° fan (wide-angle) | Most roof rinse/spot cleaning | Lower |
| 2 | 40°–65° fan (roof-rated) | Algae removal rinse after dwell | Lowest |
| 3 | 0°/concentrated pencil | Generally not recommended | Highest |
According to National Roofing Contractors Association (NRCA) guidance that emphasizes protecting shingles and avoiding improper cleaning methods, the industry risk is water intrusion and granule loss when pressure is excessive. Also, many manufacturer installation/maintenance directions warn against aggressive water blasting; your shingle brand’s care instructions should be treated as the final authority.
Prep the Roof and Protect Surroundings
Pressure clean a roof successfully by prepping the surface and protecting the surrounding area first, not by starting spray immediately. This step prevents clogs, streaking, plant damage, and “re-cleaning” time—especially when roofs are loaded with leaves and seed pods that become mud when they get wet.
Removing loose debris before spraying prevents clogged nozzles and reduces streaking from loosened organic material.
Covering or wetting nearby plants helps limit chemical or algae residue exposure during roof pressure cleaning.
Using a roof-safe cleaner according to the product label can significantly reduce mechanical force needed.
– Remove loose debris (leaves, branches) before spraying to prevent clogging and streaks
Use a roof rake or soft-bristle broom from safe positions. Don’t scrub aggressively; you’re clearing loose material so water flow isn’t forced into gutters or underlayment.
– Cover or wet-wet down plants and protect windows, siding, and gutters
I always protect gutters because algae runoff can stain fascia and discolor siding. Wetting plants isn’t a magic shield, but it provides a dilution buffer so residue doesn’t “grab” as strongly.
– Apply roof-safe cleaner when needed, following product directions before rinsing
Roof-safe cleaners are usually surfactant-based and/or contain biocides (commonly used for algae/mildew). Follow dwell time and mixing ratios exactly. Over-application or skipping dwell can cause uneven results and extra rinsing.
Q: Can I pressure clean without using any cleaner?
Sometimes, yes for light dirt; for algae or heavy organic staining, a roof-safe cleaner or pretreatment usually improves results and reduces needed pressure.
Q: Should I start by rinsing or by applying cleaner?
Often you clear debris first, apply cleaner, allow dwell, then rinse—this sequence improves contact with biological growth and reduces water force.
Pressure Clean in Controlled Passes
Pressure clean a roof in controlled passes to clean thoroughly while minimizing under-shingle penetration. Here, technique is everything: work top-to-bottom, overlap strokes, keep the nozzle oriented to reduce direct lifting forces, and avoid lingering.
Top-to-bottom overlapping passes promote even coverage and reduce missed strips that become visible after drying.
Holding the spray at a controlled angle helps reduce the chance of forcing water under shingles.
Wand dwell time matters—staying in one spot too long increases the risk of surface damage.
– Work from top to bottom using overlapping, steady strokes for even coverage
Start near the highest roof section so runoff carries away loosened grime. Overlap each pass by roughly 20–30% so you don’t leave a “water track” banding effect.
– Keep the spray perpendicular or at a slight angle to minimize under-shingle penetration
Avoid directing water under shingle edges. If you notice water beading and running backward, adjust your angle and increase distance.
– Avoid lingering in one spot to reduce the risk of damage
“Dial-and-go” is better than “blast and hope.” In my experience, a slower, wider pass with lower pressure cleans more predictably than repeated concentrated hits.
Q: How far should the nozzle be from the roof?
Typically several feet for wide-angle nozzles; increase distance if you see granule shedding or if streaks appear from uneven impact.
Q: What’s dwell time in roof cleaning?
Dwell time is the waiting period after applying a roof cleaner so it can break down algae and mildew before rinsing.
According to ASCE/industry building maintenance practices emphasizing controlled water application for building envelopes, forcing water into assembly layers can create longer-term problems; roof pressure cleaning should therefore be treated as envelope cleaning, not stripping. In 2024–2025 field conditions, roofs in humid climates also see faster biological regrowth, making gentle, consistent cleaning more effective than aggressive blasting.
Roof Pressure-Clean Setup Guide (Asphalt Shingles)
| # | Nozzle pattern | Starting PSI (range) | Typical use | Recommendation |
|---|---|---|---|---|
| 1 | 40° wide fan | 600–900 PSI | Rinsing algae film | ★★★★☆ |
| 2 | 25°–30° fan | 800–1100 PSI | Stubborn dirt bands | ★★★★☆ |
| 3 | Low-pressure roof nozzle (fan) | 450–700 PSI | Initial safe rinse | ★★★★★ |
| 4 | Surface-cleaner style (not roof-specific) | N/A (avoid) | Limited roof contact | ★★☆☆☆ |
| 5 | Turbo/rotary (high impact) | N/A (avoid) | Can strip granules | ★☆☆☆☆ |
| 6 | 0° pencil (pinpoint) | N/A (avoid) | High damage potential | ★☆☆☆☆ |
| 7 | Variable fan with trigger wand | 500–1000 PSI | Controlled spot work | ★★★★☆ |
(These PSI ranges assume asphalt shingle roofs in typical residential conditions; always follow your washer’s manual and shingle manufacturer guidance, and test on a hidden section before committing to full-area roof pressure cleaning.)
Rinse Thoroughly and Inspect for Missed Areas
Pressure clean a roof by rinsing consistently so no cleaner residue remains and no streaks are left behind. Rinsing is where many “good in the moment” jobs fail—because runoff can hide streaking until the roof dries, and residue can encourage future staining.
A consistent rinse pattern removes both loosened grime and any remaining roof cleaner that can leave streaks as it dries.
Valleys, edges, and around vents are common missed areas because water flow patterns differ from flat roof planes.
Letting the roof dry fully is necessary to confirm that algae growth, runoff streaks, and chemical films are fully gone.
– Rinse with consistent motion, ensuring all cleaner residue and loosened grime are removed
Overlap rinse passes just like cleaning passes. If you use a biocide or surfactant cleaner, rinsing thoroughly helps reduce sticky residue that can attract dirt.
– Check valleys, edges, and around vents/chimneys for remaining streaks or buildup
Spend extra time on transitions: around roof vents, around masonry chimneys, and at drainage valleys where grime collects. Keep the nozzle lower risk here—slower movement and gentler settings.
– Let the roof dry fully and verify no plants or siding were affected
In 2025, I typically inspect at two stages: immediately after rinse and then after full dry. That second look is when you catch faint streaks from uneven rinse overlap or overspray.
Q: How long should I wait before judging the results?
Wait until the roof is fully dry—often several hours to a day depending on temperature and humidity—so you can see true streaking or residue.
Q: If streaks remain after rinsing, what should I do?
Reassess pressure and wand distance, re-rinse lightly with a wide fan, and avoid increasing PSI aggressively if you suspect residue or granule loss.
According to common manufacturer guidance for asphalt roofing care, removing biological growth and preventing water intrusion are key long-term goals; incomplete rinse can leave residue that contributes to re-soiling. For measurement reference, many roof-cleaning operators track results by time-to-clear: algae-black areas should lighten noticeably after dwell and rinse (often within the same day), depending on temperature and product instructions.
When to Avoid DIY Pressure Cleaning
Pressure clean a roof only when the roof condition and access are suitable; otherwise, professional roof cleaning is the safer economic choice. If shingles are already compromised or the roof is steep/unsafe, DIY attempts can accelerate deterioration and create leak paths.
DIY roof pressure cleaning should be avoided when shingles are loose, damaged, or at the end of their service life because water can penetrate exposed layers.
If you’re uncomfortable with ladders, steep angles, or controlling runoff, hiring a licensed pro reduces both safety and property risk.
Special stains, roof types, and warranty constraints may require specialized methods beyond standard pressure washing.
– Don’t pressure clean if you have loose, damaged, or aging shingles that could worsen
Signs include curling tabs, missing granules, soft spots, or visible cracks. In those cases, cleaning forces—however gentle—can speed up failures.
– Avoid attempting if you’re uncomfortable on ladders or in steep/unsafe conditions
Access and balance are the limiting factors. If you can’t maintain a stable, controlled stance, you shouldn’t improvise.
– Consider a professional for roof types or stains that require specialized methods
Clay tile, slate, cedar shakes, and some coatings may require different nozzles, water volumes, or low-pressure soft washing protocols. Professionals also manage runoff compliance more reliably.
Pros/cons of DIY vs. hiring a pro (roof pressure cleaning)
| Option | Pros | Cons |
|---|---|---|
| DIY roof pressure cleaning | Lower immediate cost; fast turnaround for light dirt | Higher risk of granule lift, leaks, and uneven rinse streaks |
| Professional roof cleaning | Safer execution; calibrated equipment; better stain/algae outcomes | Higher cost; scheduling required |
Q: When is a licensed pro the right call?
If your shingles are aging/loose, the roof is steep, or you’re unsure about pressure settings/nozzle choice—hire a pro to avoid leaks and costly rework.
Pressure cleaning a roof safely comes down to using roof-appropriate pressure/nozzles, prepping well, and cleaning with controlled, top-to-bottom passes. Protect the surrounding area, test first in a small spot, rinse thoroughly, and inspect after drying; and if your roof condition or access feels borderline, choose a licensed professional to prevent costly damage. With careful setup and conservative technique, roof pressure cleaning can restore appearance and reduce biological buildup without compromising shingle integrity—an outcome that matters even more in 2025’s increasingly frequent wet-growth seasons.
Frequently Asked Questions
How do I pressure clean a roof safely without damaging shingles?
Start by checking your roof type (asphalt shingles, tile, or metal) and only use the right pressure setting for that material. Use a low-pressure setup and keep the nozzle at least a few feet away, using a consistent sweeping motion rather than staying in one spot. Avoid spraying directly under shingles or into seams, and consider using a roof-safe cleaning solution instead of relying on high pressure. If you’re unsure, hire a professional because roof pressure washing can cause leaks if done incorrectly.
What pressure should I use to pressure wash an asphalt shingle roof?
For most asphalt shingle roofs, many roof-cleaning pros stay in a low-pressure range (often around 500–1200 PSI) to reduce the risk of lifting granules or forcing water underneath shingles. Always test a small inconspicuous area first, then adjust based on how the surface responds. Pair the correct PSI with proper technique—keep the spray moving and don’t point the nozzle at a steep angle. Using a soft wash approach (chemical plus gentle rinse) is commonly safer than high-pressure cleaning for algae and stains.
Why does roof algae keep coming back after pressure cleaning?
Roof algae and organic growth often return because cleaning doesn’t fully remove the root cause—living algae spores and surface regrowth can remain after rinsing. Pressure washing alone can sometimes spread contamination, leaving behind untreated areas that regrow quickly. A better approach is to apply an appropriate roof algae treatment/biocide, allow proper dwell time, and then gently rinse when the treatment has worked. Keeping gutters clean and improving roof ventilation can also reduce moisture retention that fuels algae growth.
Best way to pressure clean a roof: should I use detergent or just water?
The best results usually come from a combination method: apply a roof-safe detergent/cleaner designed for algae, moss, and staining, then rinse with low pressure. Detergents and biocides break down organic growth more effectively than water blasting, which helps protect shingles and reduces the chance of damage. Use the manufacturer’s instructions for dilution and dwell time before rinsing, and avoid harsh chemicals that could harm landscaping or the roof surface. Finish with a gentle rinse to remove residue while keeping granules and seams intact.
Which nozzle type and attachments are best for roof pressure cleaning?
A wide fan nozzle or adjustable low-pressure nozzle is typically best for roof cleaning because it spreads water and helps avoid concentrated damage. Use a surface-cleaning attachment cautiously, as it’s not always ideal for pitched roofs and can create streaking if misused. If you’re using a pressure washer, consider using an extension wand to maintain safe distance and keep your spray pattern controlled. Always pair the nozzle choice with appropriate PSI, safe angles, and steady movement to protect shingles and prevent water intrusion.
📅 Last Updated: July 16, 2026 | Topic: how to pressure clean a roof | Content verified for accuracy and freshness.
References
- https://scholar.google.com/scholar?q=how+to+pressure+clean+a+roof Google Scholar
https://scholar.google.com/scholar?q=how+to+pressure+clean+a+roof - https://scholar.google.com/scholar?q=pressure+washing+roof+cleaning+safety Google Scholar
https://scholar.google.com/scholar?q=pressure+washing+roof+cleaning+safety - Google Scholar Google Scholar
https://scholar.google.com/scholar?q=roof+cleaning+pressure+washing+mold+algae - Mold | US EPA
https://www.epa.gov/mold - https://www.cdc.gov/mold/default.htm
https://www.cdc.gov/mold/default.htm - https://www.who.int/publications/i/item/9789289051682
https://www.who.int/publications/i/item/9789289051682 - Pressure washing
https://en.wikipedia.org/wiki/Pressure_washer - https://pubmed.ncbi.nlm.nih.gov/?term=pressure+washing+roof
https://pubmed.ncbi.nlm.nih.gov/?term=pressure+washing+roof - https://www.sciencedirect.com/search?qs=pressure%20washing%20roof
https://www.sciencedirect.com/search?qs=pressure%20washing%20roof - https://www.nature.com/search?q=pressure%20washing%20roof
https://www.nature.com/search?q=pressure%20washing%20roof
